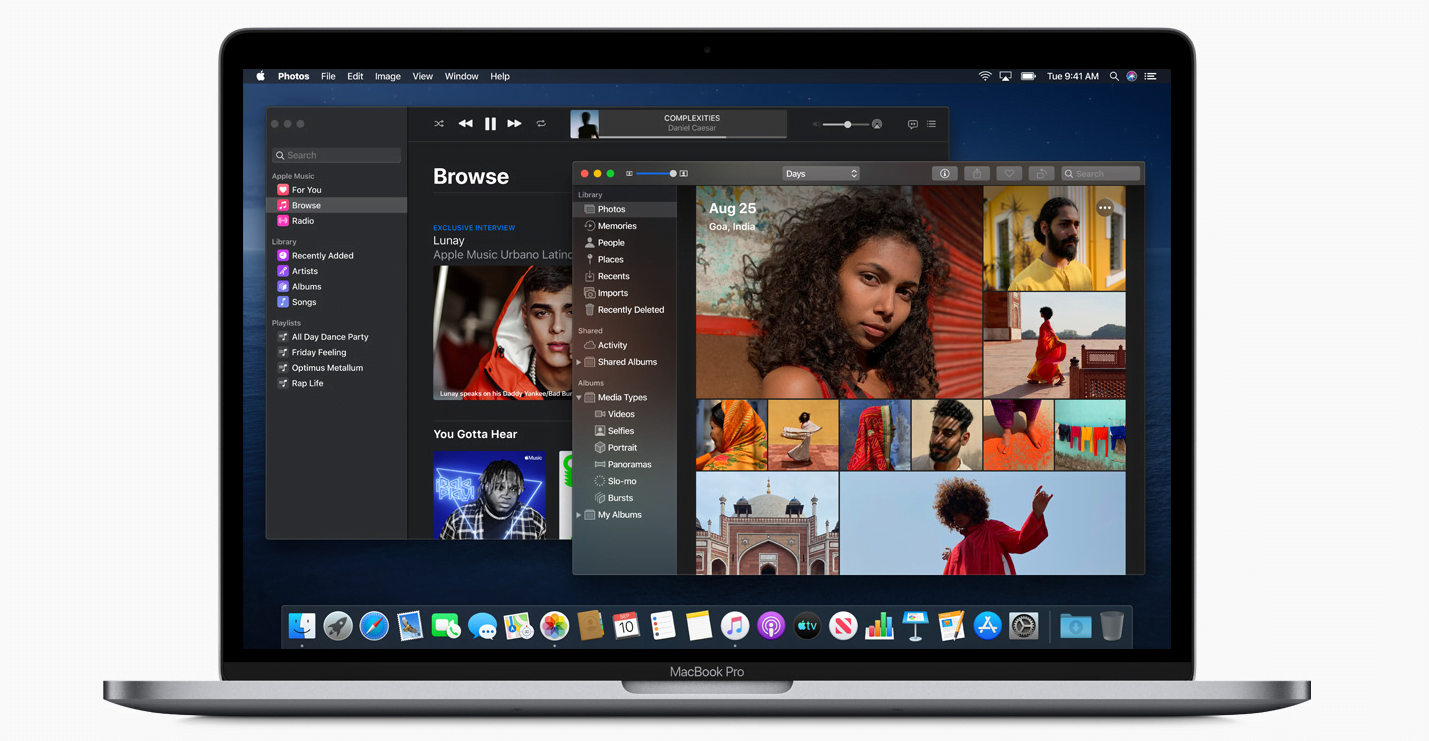
October 7th, the official macOS Catalina release date, wasn’t even the moment when the discussion around the new operating system started. It was sparked way ahead, when Apple announced the upgrade. Users were testing the macOS Catalina Beta, but not everyone was ready to jump in at that point. Most of us were waiting for the official Catalina version, expecting it to run effortlessly.
There are some problems reported, mainly with 32-bit apps not functioning on the new system. If your work depends on such apps, your computer is still not ready for Catalina. You’ll have to wait for developers to update them to 64-bit versions, so you can continue using them.
[REITs]Q3 2019 hedge fund letters, conferences and more
For most users, Catalina is really good. It comes with new features that make you feel like you just bought a brand-new computer and you’re eager to explore it.
The question is: how are you going to install it? If you choose the clean install, you’ll restore maximum performance on your Mac.
We’ll give you simple tips on how to clean install macOS Catalina, so you’ll do it without any frustrations involved.
Tips: How to Clean Install macOS Catalina
- Is Your Mac Compatible?
Most people knew whether their computers would support the new operating system before the macOS Catalina release date. Apple made it clear. But it doesn’t hurt to check twice before you start with this process.
These are the devices that support Catalina:
- Mac Pro from 2013 on
- MacBook Pro from 2012 on
- iMac Pro in all models
- Mac Mini from 2012 on
- MacBook from 2015 on
- MacBook Air from 2012 on
- iMac from 2012 on
If your Mac is compatible with macOS 10.15 Catalina, you shouldn’t hesitate to install it. Even though it has some issues, it’s still better than Mojave in many ways.
- Understand What a Clean Install Is
The macOS Catalina gives you two options for the install.
If you want to keep the current state of your computer, you can install the new operating system over it. All data will be kept.
But if you own a computer that’s a few years old, you might want to get rid of all the junk in it. In that case, you’re ready for our tips on how to clean install macOS Catalina. When you’re done with this, you’ll have a faster Mac with less issues and errors.
The clean install of macOS Catalina goes through a few steps: backing up the computer, downloading Catalina, and restoring data. Let’s see how that goes.
- Perform a Backup
Just because you opted for a clean install of the macOS 10.15 Catalina doesn’t mean that you don’t need any of your data. You’ll want to recover it after you have your clean computer. At this point, you want to back it up.
You’ll need an app to do this. Get Backup Pro is easy to use and successfully backups your important files. It creates bootable clones, which you can recover at any time. Get the app and follow its instructions.
- Get Your macOS Catalina
You can download the installer from Apple’s servers or from the Mac App Store. Choose whatever you prefer; it doesn’t make any difference.
But you want the installer on a bootable USB drive. So as soon as the installer is downloaded and it launches, click File and Quit. That’s because you don’t want to run the installer from there. You’ll find it under Applications, and you’ll transfer it to your USB stick. To do that, you should first go to Disk Utilities and choose Mac OS Extended under the Erase tab. Click Erase, then Done, and then close Disk Utility.
Pay attention to this part: you’ll need to enter a command under Access Terminal. This is it:
sudo /Applications/Install macOS Catalina.app/Contents/Resources/createinstallmedia –volume /Volumes/[X] –applicationpath /Applications/Install macOS Catalina.app
Do you see that X? You must replace it with your drive name. Don’t forget to do that!
When you enter this command, click Return and you’ll be asked to provide your admin password. Now, wait for the process to be done and close Terminal.
- Install Catalina on the Startup Drive
Since you backed up your important files, you can feel free to erase the startup disk drive and get Catalina there.
Go to Startup Disk and opt for the Catalina Installer. Now, you’ll need to restart the computer while holding Command-R. When the Utilities window pops up, choose Reinstall a new copy of macOS. The installer will ask you to agree to the conditions. Then you’ll only select the startup drive and install the operating system on it.
Why Would You Bother?
If this tutorial on how to clean install macOS Catalina seemed a bit complex, you might wonder: “Why would I bother doing all this when I’m perfectly fine with the Mojave? All that buzz around the macOS Catalina release date got me excited, but now I’m not sure if I wanna do it at all.”
There are few aspects that make Catalina better than Mojave:
- Apple made important privacy improvements with the Catalina. It runs as a read-only volume on the disk, so there are no issues with accidental overwriting on system files.
- It’s a system build around productivity. It enables you to use an iPad as a second display, which means that you can work with Apple Pencil on a bigger, more beautiful screen. The Notes and Reminders are more effective. Plus, you get the Screen Time feature on your computer. It makes you aware of the way you spend your time, so it triggers better productivity.
- Voice Control is brilliant. You can use it to control your Mac in the easiest way possible.
- You get Music, Podcasts, and TV instead of the outdated iTunes. That feature alone is worthy of an update.
- With Project Catalyst, you get some of your favorite iPad apps on your Mac.
It’s a major upgrade that we’ve been waiting for a long time. The process of installing it may be a bit frustrating, but it’s really easy when you have a guide to follow. Now that you have your guide, it’s easier to make a decision.


