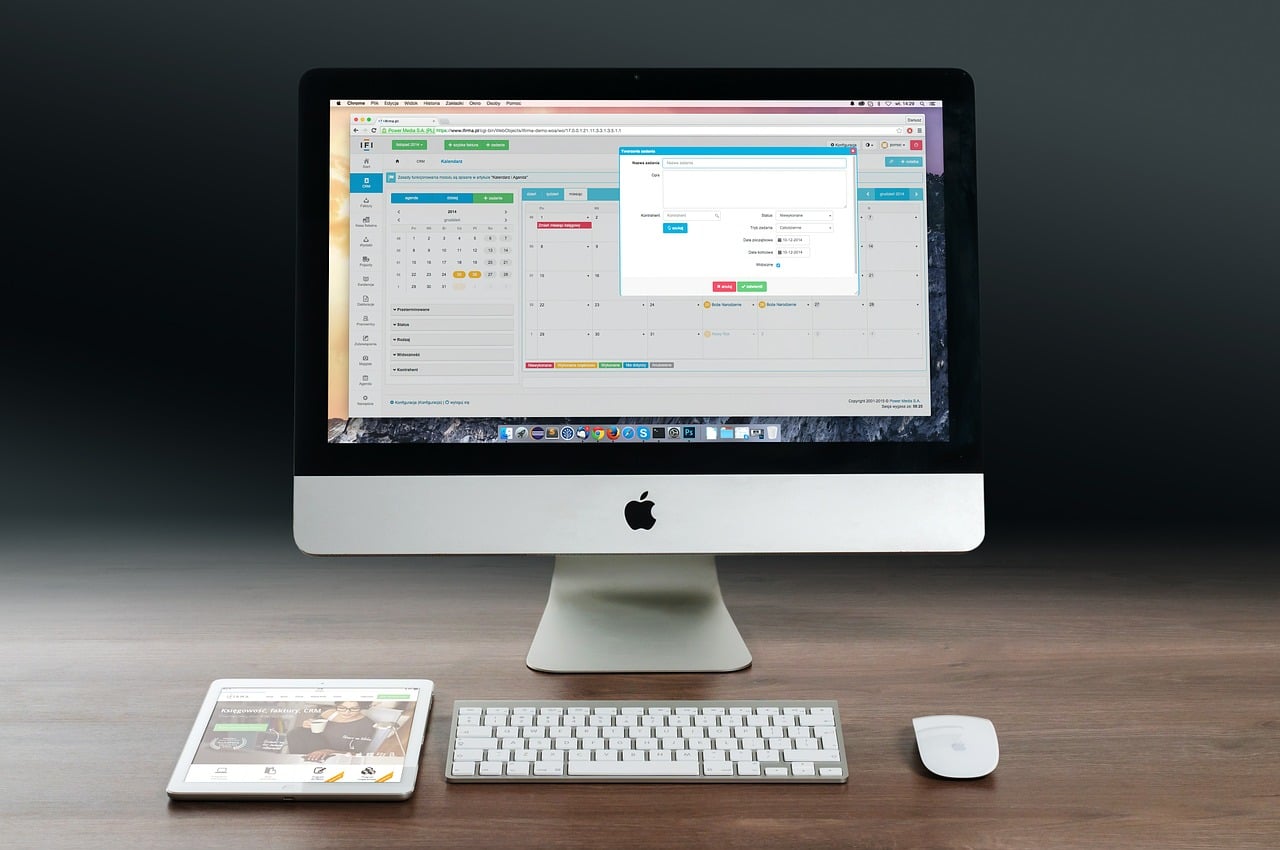
If you just bought a new MacBook, MacBook Pro, iMac, or Mac Pro you are probably pretty excited to get going on it. However, you may be worried thinking that it may be hard to set it all up. Though it is easy to set it up, it may take some time and understanding if you are new to Apple’s ecosystem. If you are one of these, then don’t worry, detailed below is all you need to know to set up your new Mac.
What all do you need?
You need the following things for the setup – Apple ID username and password, a reliable internet connection and your WiFi network information. The process to set up your new Mac could take a few hours if you are transferring all your data from your earlier system.
During the setup process, you will be asked to restore from a Time Machine backup of another Mac using the Migration Assistant. If you are using this option, you will require the hard drive your Time Machine backup is stored on. If you have not taken a Time Machine backup of your old Mac, then you need to do it first. Alternately, you can use the Migration Assistant to transfer files and settings from one Mac to another.
If you are using the Time Machine backup, from the Migration Assistant tool, select the Time Machine hard drive connected to the new Mac and then select the backup you created. Now, select the content that you plan to transfer – home folders, applications, settings and other documents. This process could take a few hours, depending on the amount of data you are transferring. You can leave the system unattended during that time.
Before you start the setup process, you need to do these first:
- Plug in your Mac.
- Ensure that you have a stable and reliable internet connection.
- Connect the mouse, keyboard, and monitor (if needed).
You are now ready to set up your new Mac.
How to set up your new Mac
The following are the steps to set up your new Mac:
- Power on the Mac.
- Follow the on-screen instructions. You will first be asked to select a language. Select English (or any other language you want) and press Continue.
- Select your location. Once you have selected your location, click Continue.
- Select your keyboard layout and then click Continue.
- You will now have to select your WiFi network.
- Scroll through the list of nearby WiFi connections and select your WiFi network. You will have to enter the WiFi password and then click Continue.
- Once your Mac connects to the WiFi network, you will get an option to transfer data from another Mac, from a Windows PC, a startup disk or a Time Machine backup. You can also choose not to transfer any data.
- Sign in with your Apple ID, or if you don’t have one, create new. After you sign in, click Continue.
- You will now be presented with the macOS Software License Agreement, the Game Center Terms and Conditions, and the Warranty. Once you are okay with these, click Continue and then agree.
- You will now have to create an account for your new Mac. You will be asked to enter your full name, account name, password and a password hint.
- Select a login photo for your Mac account. You can either select from the default options, or use the Mac’s camera to click a new one.
- You will be prompted to set up iCloud Keychain. You can do it now or leave it for later.
- Next is setting the Express Set Up. This setting will automatically allow some apps to use your location, enable Siri and send analytic data to Apple. You can customize the settings by going to Customize Settings. Once you are done, click Continue.
- Enable Ask Siri. You can choose not to enable it as well.
- Next choose if you want to store the files in iCloud or not.
- The next screen may or may not appear for all new Mac users. Here you will have to enable Touch ID provided your device supports it. You will also get the option to set up Apple Pay via Touch ID as well.
- If you want, you can enable True Tone Display. Next press Continue.
- Your Mac will now set up based on the settings you have selected so far.
That’s it! You are now ready to go, visit the App Store and install the apps that you want.
You can refer to the below video as well:


