Many PlayStation and Nintendo 64 games still hold up to this day, and a lot of gamers are looking for an easy way to play the games on modern devices. Fortunately, it’s possible to install a PlayStation Emulator on iOS 11 – and it’s possible to do so without jailbreaking.
While the majority of cool programs and tweaks require you to modify your device with a jailbreak, the process to install a PlayStation Emulator on iOS 11 doesn’t require such a process. In addition to being rather complicated to set up, jailbreaking voids your device’s warranty which may be a no-go for many iPhone owners.
Listed below is a step by step process that will allow you to install a PlayStation Emulator on iOS 11 – allowing you to play both PlayStation and Nintendo 64 games on a modern device.
Step 1: First, you’ll want to navigate to the iOS App Store and download an app called ZipApp Free. This utility is an unarchiving app, and will play a crucial role in allowing you to install a PlayStation emulator on iOS 11.
Step 2: You’ll also need the iOS 11 Files app. This should be on your device by default, but if you happen to have deleted it you can redownload it from the App Store as well.
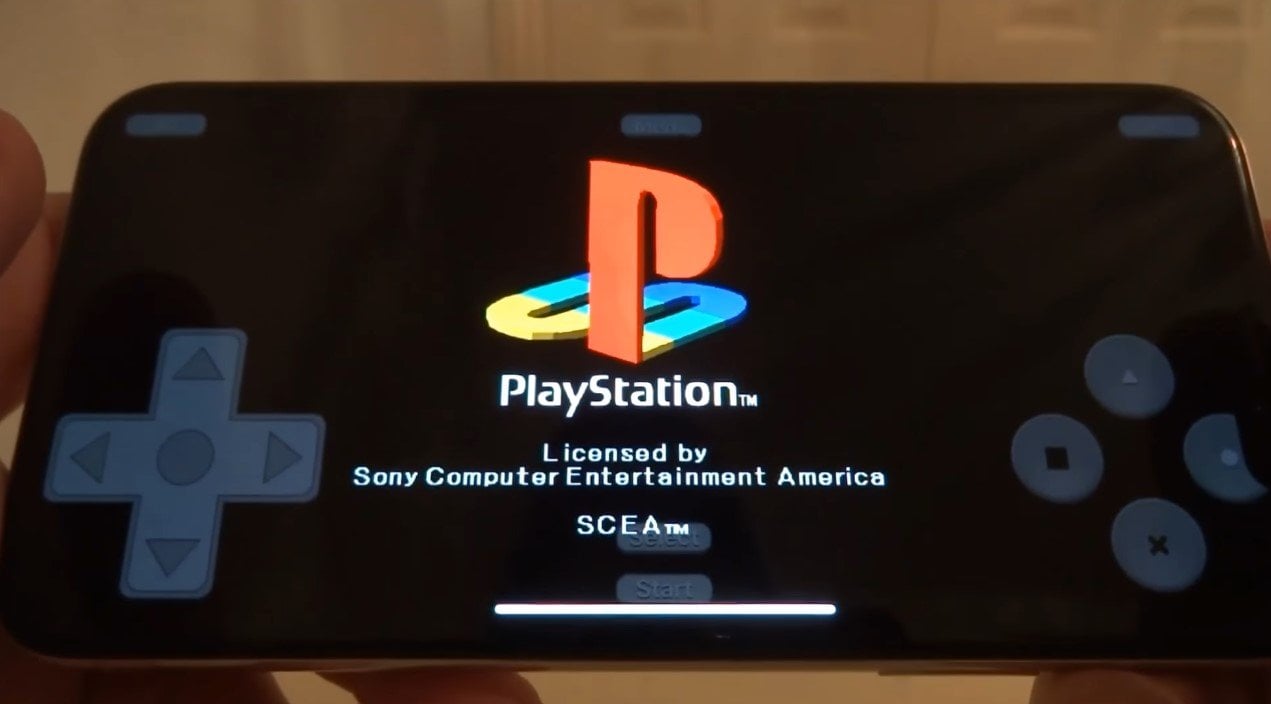
Step 3: Launch Safari on your device, and navigate to appvalley.vip/app and search for “Provenance” in the search bar. Install this app to your device.
Step 4: Launch Provenance on your iOS device, wait for it to load, and then navigate to the home screen with the app still running in the background.
Step 5: At this point, you’ll need to download the correct BIOS for PlayStation. Doing so should be pretty simple, just search for “PlayStation BIOS Download” or some sort of similar query and download the following models: SCPH-5500, SCPH-5501, and SCPH-5502.
Step 6: When you’re downloading the BIOS files in order to install a PlayStation emulator on iOS 11, make sure that you select the “Copy to ZipApp Free” option in Safari. Select “No” when asked to unarchive the file.
Step 7: Once you’ve downloaded the Bios, select the “i” icon next to each one and select “Rename.” Rename all of the BIOS files to lowercase letters, such as changing SCPH-5500.BIN to scph5500.bin. Make sure you do this for all the files you downloaded.
Step 8: In the same interface, hold down on each file individually until you get a menu pop up. Select “Open In…” and select “Copy To Provenance.” Do this with each of the files you downloaded on a one-by-one basis.
Step 9: Navigate out of the Provenance app while ensuring that it’s still running in the background and open the Files app. Select the “On my iPhone” option and then the Provenance folder. You should see a number of files and folders in there. Swipe down until you see a “+” icon in the top-left corner and use this in order to create a new folder called “com.provenance.psx”.
At this point, you should be all set to run your new games. You’ll need to download the ROMs from the internet, and those shouldn’t be too hard to find with a cursory google search. When you download the ROMs, simply select “Open in Provenance” and the emulator will automatically create the necessary folder. Also, you should always make sure you get the PlayStation ROMs with a U in their name, such as NTSC-U.
If you’ve followed the process to install a PlayStation Emulator on iOS 11, you should be all set to get your games up and running. It’s a little bit of a complicated process, but more than worth it for the hours of entertainment you’ll get out of playing your favorite games.