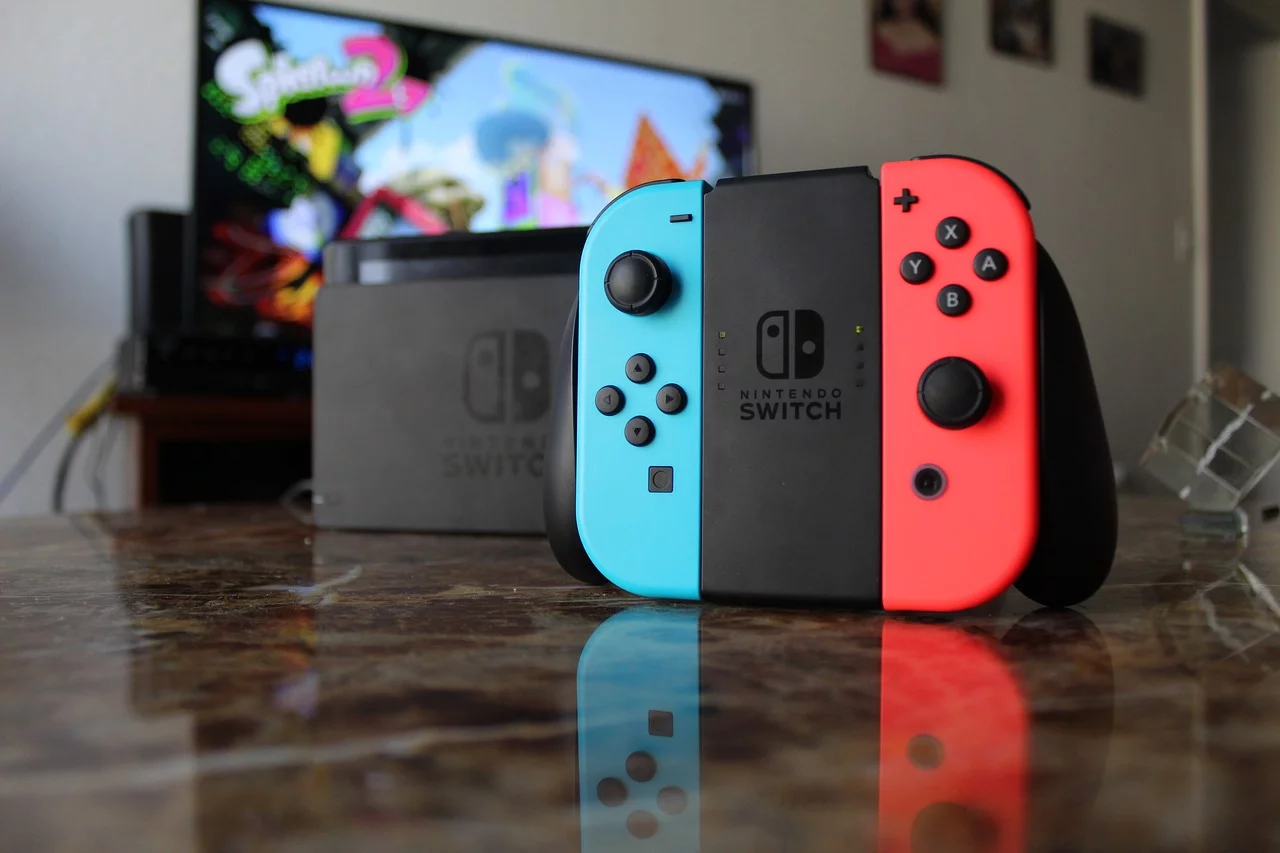
Nintendo Switch has gained massive popularity in very little time. Almost every gamer wants to play the games on this portable console, which debuted in March 2017. The console not only offers superb games and robust specs to support the games, but many extra features as well to take your gaming experience to the next level. One such feature is the ability to add a user to Nintendo Switch.
What’s the need for separate accounts on Switch?
Before we detail the process to add a user to Nintendo Switch, it is important to know why you may need to add another user to your Nintendo Switch.
It is very possible that there is only one console in the family. Thus, to ensure that no one else messes with your saved games or the progress you made in the game, you need to make a separate account for every gamer in the family or get yourself a separate account. For instance, games like Legend of Zelda: Breath of the Wild allows you to save only one file per user profile.
Additionally, having a separate account also means everyone has their own friends list to share their experiences with. Also, different profiles help you create a Nintendo family group, which is important to set parental controls.
You can create up to eight user accounts on each Nintendo Switch. Also, each user account can be related to one Nintendo account.
Now that you know the importance of creating a separate user account, let’s talk about the process of adding a user to Nintendo Switch.
How to add a user to Nintendo Switch
Follow the below steps to add a user to Nintendo Switch:
- Go to the Settings at the bottom of the Switch Home Screen.
- Go to Users, and then select Add User, and then Create New User.
- You can create your avatar as well by going to More Options, and then select the Character that you want. You can also select a background for your avatar, and then give a name (or nickname) to your character or account. Once you are done, confirm the changes and select OK.
- You will now get an option to connect a Nintendo Account to the newly created user profile. You can also skip this part and do it later.
That’s it! You have now successfully added a new account to your console.
You can also add an existing user account to a Nintendo Switch. This will help you to move user data between Switch consoles. However, to add an existing user account, you should first create a new Nintendo account. Once you create a new account, follow the below steps to add an existing user account:
- From the Nintendo Switch Home screen, select System Settings.
- Select Users and then Add User.
- Tap on Import User Data from Another Console.
- Select No if you don’t have the console from which you want to transfer the data from.
- After you select No, then on the next screen select Yes if your Nintendo account was linked to the last console.
- Select Link a Nintendo Account (used on the previous console). To link the account, you will have to enter the email address associated with the account.
That’s it!
Now, each time you open the app, it will ask you to choose a user. To switch the user, you will have to close the app and re-launch it.
You can refer to the video below as well on how to add a new user to your Switch:
How to add users to Nintendo Switch Online Family plan
Nintendo Switch Online offers two membership options – Individual and Family. The Individual plan, as the name suggests, is for households with a single console. On the other hand, households with two or more Switch consoles will save money by opting for the Family plan.
Nintendo’s annual Individual plan costs $19.99 per user, while the Family plan costs $34.99 a year. So, even if the family plan has just two members, there will be a savings of $5.00.
The family plan is the same as the individual plan except for two differences. The family plan is billed annually, and not monthly or quarterly. The second difference is that up to eight Nintendo accounts can access the Nintendo Switch Online under the family plan.
Though up to eight accounts can access the features under the family plan, only one can be the administrator. The administer is responsible for setting up the family group, and also adding and removing users.
To add a user to a family group, follow the below steps:
- Login to your Nintendo Account.
- Select the Family group from the profile page.
- Select Add member and then select Invite someone to the family group.
- Enter the email address of the user whom you wish to add. The email address must be linked to that user’s Nintendo account.
- Tap on Submit. Now the user will receive a link to join the group, and once he or she accepts, their profile will show up in the family group.