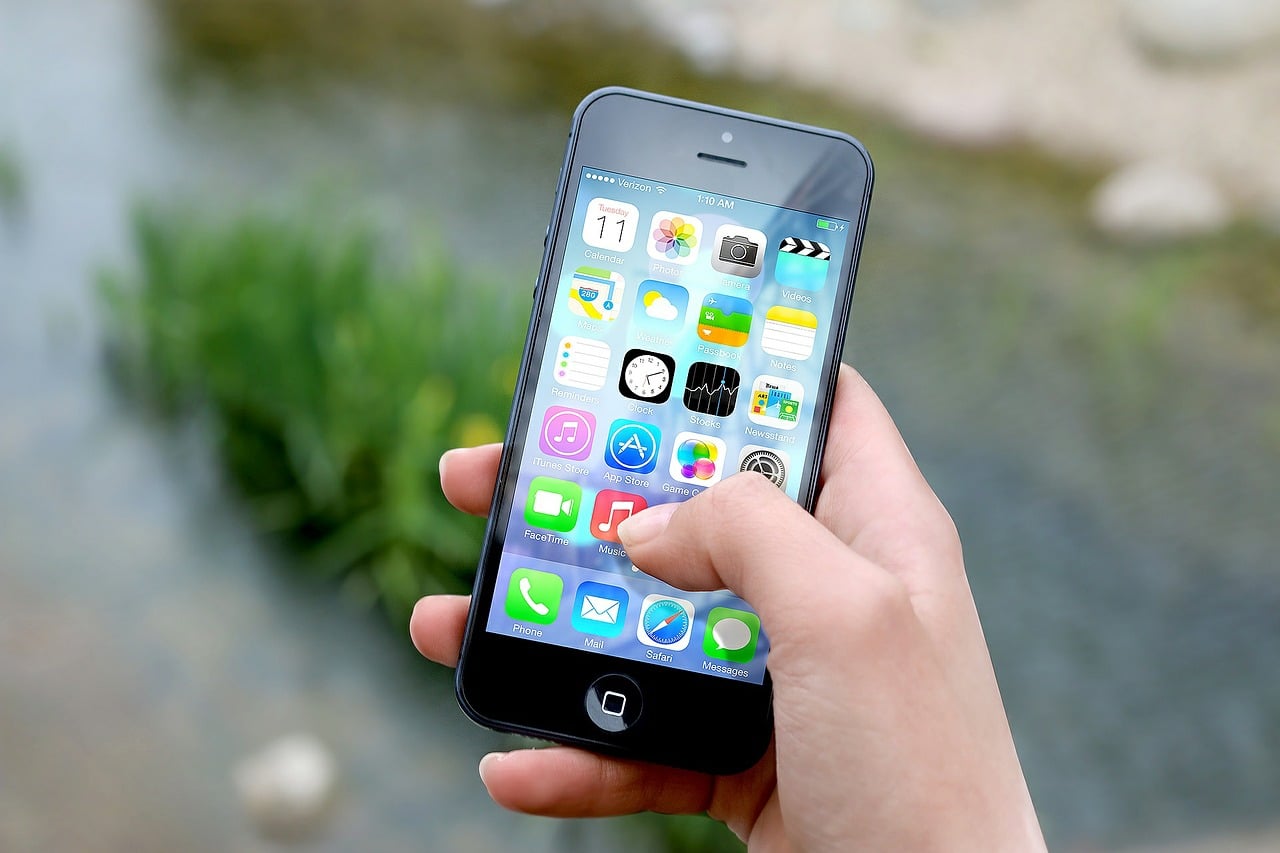
Most people upgrade their iPhone or iPad to the latest iOS version, but at times, some people may want to downgrade back to an earlier version. There could be several reasons to downgrade, such as the new version being too slow, buggy or some other reason. Though it is possible to downgrade to an earlier version, it is tricky as well. Additionally, there is always the risk of losing data when you downgrade. However, it is possible to easily downgrade iOS without losing data, and the steps to do so are detailed below.
Why you may want to downgrade?
Before we detail how to downgrade iOS without losing data, it is important to understand the reasons why you may want to downgrade.
- Too Slow – it has often been seen that the new update slows your phone. Also, if you own old hardware, there are chances that the new update slows your device.
- Bugs – it is possible that the new version has some issues that make it harder to use the device.
- Changes you may not like – a new iOS version may come up with some changes that you may not like. These changes could be related to the user interface. So, due to these changes, you may feel downgrading to be a better option.
Any user who wishes to downgrade must act quickly. This means you must not waste time in deciding whether you want to downgrade or not. The more time you take to decide, the more risky it gets to downgrade and there is less chance that you will be able to downgrade. Apple usually stops signing for the older version once it releases a new version. Although Apple does not immediately stop signing for the older version, there is no fixed time duration.
So, once Apple stops signing for the older version, you won’t be able to downgrade officially. That is why you need to act quickly if you wish to downgrade.
To downgrade, you will need the following things:
- iPhone or iPad or iPod
- Computer (Windows or a Mac)
- A USB wire
- Fast internet connection
Don’t forget to take a back up
Now, before you proceed to downgrade, you should also know what it means to downgrade. Downgrading means deleting all the data from your device, and then installing an old iOS. The best way to downgrade is to first take a back up of your data. You can always restore the data once you downgrade.
You can take a backup of your device easily via iCloud or iTunes. To take a backup using iCloud follow the below steps:
First, connect your iOS device to a WiFi network.
Second, go to Settings, your profile and tap iCloud
Third, tap iCloud Backup.
Fourth, tap Back Up Now, and wait for the process to complete.
Once the process completes, you can check if the backup is there or not. To check, go to Settings > Your Profile> iCloud > iCloud Backup. Here you will see the date and time of your last backup.
To take a backup via iTunes, follow the below steps:
First, connect your device to a computer. If you are using macOS Catalina 10.15, open the Finder app; if you are using macOS Mojave 10.14 or earlier or a Windows PC, open iTunes.
Second, follow the onscreen prompts if you are asked for a device passcode or to Trust This Computer.
Third, locate your device in the computer.
Fourth, click on Back Up Now.
Once the process ends, you can see the backup of your device in iTunes.
How to downgrade iOS without losing data
Now, let’s follow the steps to downgrade iOS without losing data. It must be noted that you can downgrade only to the version that Apple is signing for.
First, download the old iOS version on your computer. You can download the iOS version from this site. Once you are on this site, you will have to choose your device and iOS version that you want to download.
Second, turn off the Find My iPhone feature in your iPhone. To do so, go to Settings > Your Profile > Find My > Find My iPhone, and disable the Find My iPhone feature.
Third, put your iPhone in Recovery Mode to make your device ready to install a different iOS version.
Fourth, now connect your iOS device with the computer, which you usually use for the iPhone, and open iTunes.
Fifth, once iTunes opens, select the iPhone icon from the top left corner.
Sixth, if you are using a Mac, hold down the Option and if you are on a Windows PC, hold down Shift, and then select Restore iPhone.
Seventh, a new window will now pop up, where you need to select the iOS version that you downloaded in the first step.
Eighth, select Restore in iTunes and follow the onscreen instructions on your iPhone or iTunes.
Ninth, after the downgrade process is complete (your iPhone will have restarted a few times), restore the data that you backed up.
You can also refer to the video below:


