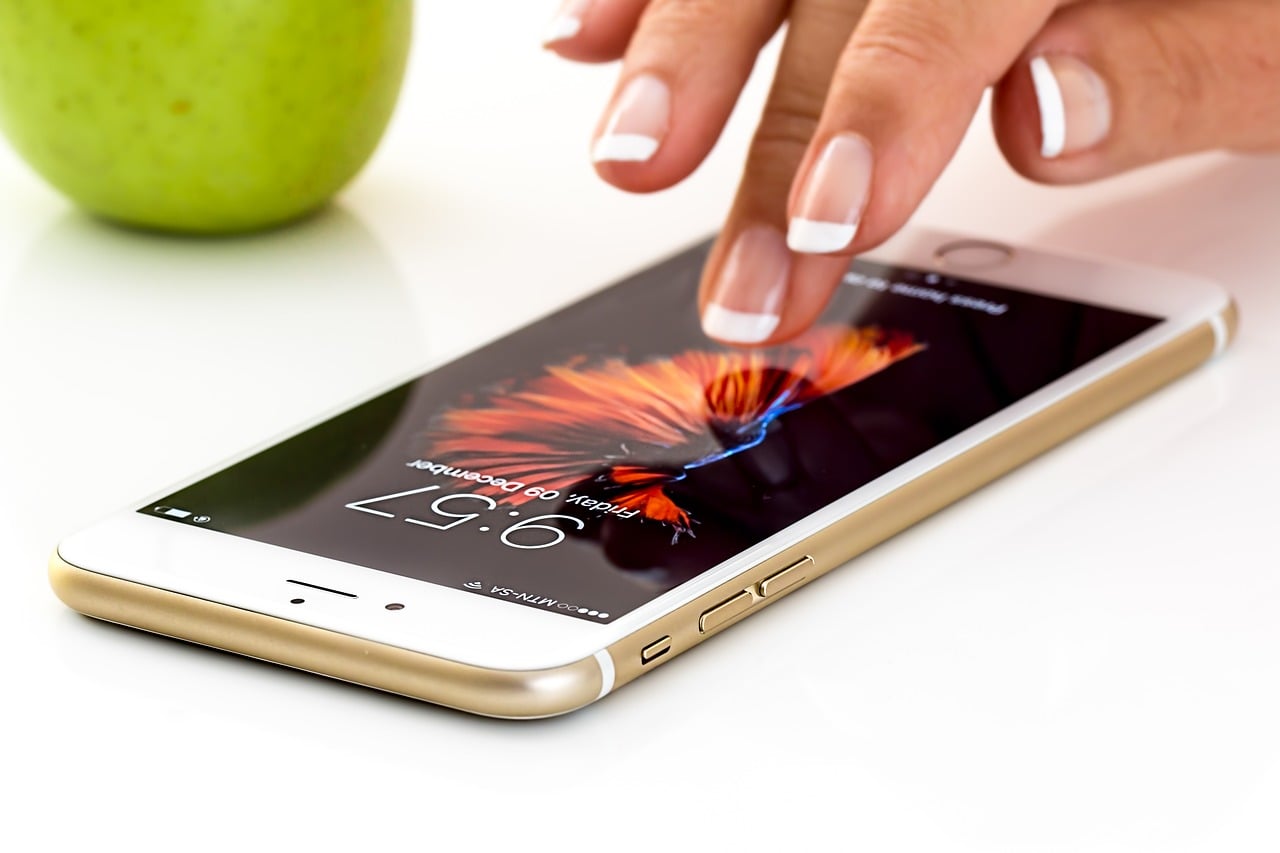
Like with any other device, your iPhone has a unique IP address which it is assigned automatically. Usually, this IP address remains the same, and there is usually no need for you to change it. However, if you are facing any serious connectivity issue, or encountering conflicts with other devices on a Wi-Fi network, then changing the IP address may solve the issue. If you are facing such issues, and want to address these issues, then read along to know how to change your IP on iPhone.
How to change your IP on iPhone
There are two ways in which you can change the IP address – by renewing the lease and by entering a static IP address on your iPhone.
First let’s talk about the need to renew the lease. To change the iPhone’s IP address by renewing the lease follow the below steps:
First, click on the Settings from your iPhone’s Home Screen.
Second, after the Settings interface opens, click on the Wi-Fi option.
Third, you will now get a list of all available networks, including the one that you are connected to. Go to the network that you are connected to, and select the Information icon or the ‘i’ inside the circle on the far right of the Wi-Fi network’s name.
Fourth, once you click the “i”, a new interface will open carrying the data points and settings of your active Wi-Fi network. Now, locate the Renew Lease option, which would be between the IP4 ADDRESS and DNS sections, and click on it.
Fifth, two buttons will now appear on the bottom of the screen. From the two, select the one titled Renew Lease.
That’s it! You now know how to change your IP on the iPhone.
Change IP to static
You can change the IP address of your iPhone manually as well. For this, you need to have full control over the Wi-Fi router or your network administrator must have assigned you a static IP. You may need a static IP for the following reasons – using your phone as a Wi-Fi camera, sharing mobiles files with FTP server software, running a mobile web server, running a mobile media server and more. All of these uses will need your phone to have a fixed IP, which you can configure on the third-party software.
To manually change your iPhone’s IP address follow these steps:
First, click on the Settings icon from your iPhone’s Home Screen.
Second, search for the Wi-Fi icon and click on it.
Third, all nearby networks will now be listed, including the network you are connected to. Click on “information” or the “i” icon on the extreme right of the name of the network.
Fourth, you will now see an interface with all the details and settings of your Wi-Fi network. Now, click on the Configure IP option, which would be located in the IPV4 ADDRESS section.
Fifth, once the Configure IP section opens, search and click the “MANUAL IP” option.
Sixth, now enter your static IP address and the corresponding Subnet Mask and Router address. Once you have filled in the details, enter Save.
Done!
Switch IP address on Android
Similar to the iPhone, you can switch to a static IP address on an Android device as well. Before you change to static IP on your Android, you will have to locate an available IP address on your network or an address that hasn’t yet been assigned. To locate this, you can use any PC that is connected to the same network.
If it is a Windows PC, click on the Start menu and then type cmd and click on the Command Prompt desktop app. Now type command ipconfig/all in the command prompt window and press Enter.
You should notice a lot of information on your screen, but you should only be concerned with Default Gateway (IP address of your home router) and IPv4 Address (IP address of the device that you have run the command). You will now have to find a free or available IP address on your network. For this, type a ping command starting from the router IP and then working your way up.
Now that you have an available IP address, you can now easily switch from random IP to a static IP. Follow the below steps:
First, open Settings and then tap on Wi-Fi.
Second, press and hold on the network you are connected to. You will now get a menu pop-up and from the menu click Modify network.
Third, you will now see a password change screen. Now, click Advanced options and scroll to the IP settings section. This option by default is set to DHCP or a dynamic one. Change this to Static.
Fourth, after you change the setting to Static, a form will come up where you will be able to configure Android’s network settings, including your Android IP. You will have to enter the IP address that you found with the Ping command along with other details, including Gateway, DNS 1 and DNS 2. Then Save.
Note: If later you want to revert back to DHCP, follow the above steps, but in the Advanced options, set the IP Settings back to DHCP.


