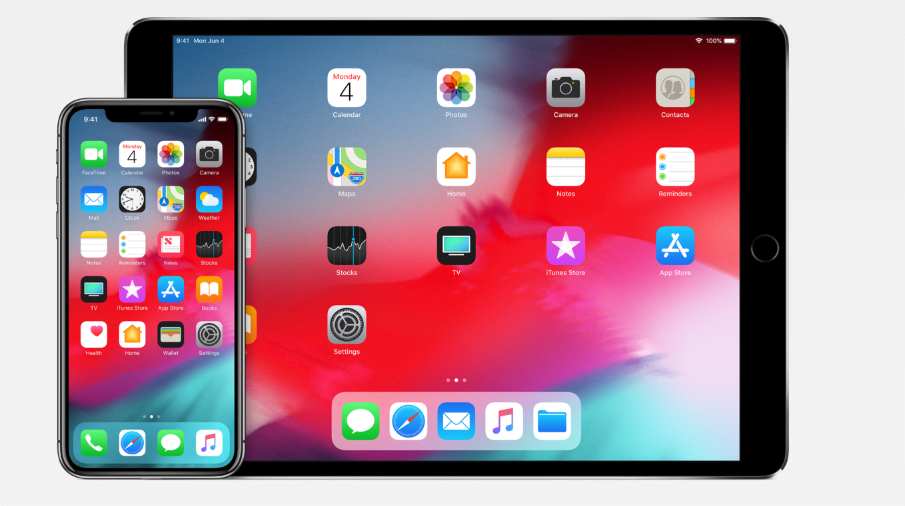
iOS 12 will be here sooner rather than later, and many people have already jumped ship and have moved onto the pre-release seed. Here’s a guide on how to downgrade iOS 12 beta back to iOS 11.4 if you’ve regretted making the upgrade so soon.
While we’re all excited for the release of iOS 12, the operating system hasn’t released yet and it’s in beta for a reason. There’s definitely a lack of polish and a number of issues with the testing build, and many people are looking for a way to downgrade iOS 12 beta for one reason or another in order to get back to a more stable build. Fortunately, it’s a relatively simple process to get back to iOS 11.4 – a process which we’ve detailed below.
How To Downgrade iOS 12 Beta
It’s important to keep in mind that if you have taken any iTunes or iCloud backup on the new update, you’ll unfortunately be unable to downgrade iOS 12 beta back to iOS 11.4. This is an unfortunate fact of life and you’ll likely be stuck waiting until the eventual release – a release which is sure to come in a couple of weeks, but which still has a number of issue to iron out before the full public release.
With that out of the way, here’s the process on how to downgrade iOS 12 beta.
Step 1: The first part of the process to downgrade iOS 12 is to make sure you have the latest version of iTunes on your Mac or PC. It’s not possible to roll back your update without access to a computer with the appropriate software, so make sure you have the tools you need to get started before you begin. You can find the latest iTunes build on the Apple website
Step 2: You’ll also need to have the appropriate iOS 11.4 IPSW file in order to downgrade iOS 12. You can find the files here – just find the one appropriate to your device. Keep in mind that this is a third-party site which, while having a great reputation, should still be used at your own risk.
Step 3: On your iPhone or iPad, you now need to turn off Find My iPhone. Navigate to Settings > iCloud > Find My iPhone and make sure that the option is toggled to the Off position. Enter your correct password when prompted and ensure that the feature is shut down.
Step 4: Take a USB cable and connect your iPhone to your Mac or PC, and launch iTunes. You’ll now need to put your device into DFU Mode or Recovery Mode.
On an iPhone 8 or later:
Press and release the Volume Up button and then the Volume Down button. Then, press and hold the Side button until you see the connect to iTunes screen.
On an iPhone 7 or 7 Plus:
Turn Off your iPhone 7 if it isn’t off already.
Press and hold down the On/Off button on the right side (iPhone 6 or later) or top (all other iPhones) for 3 seconds.
Swipe the slide to power off confirmation slider to the right.
Press and hold down the volume down key on your iPhone 7.
Plug your iPhone 7 into your Mac or Windows PC and make sure you’ve launched iTunes
Release the volume down button when you see the Connect to iTunes screen.
On iPhone 6S or Earlier, or iPad
Turn Off your iPhone, iPod touch, or iPad if it isn’t off already.
Press and hold down the On/Off button on the right side (iPhone 6 or later) or top (all other iPhones, iPods, and iPads) for 3 seconds.
Swipe the slide to power off slider to the right.
Press and hold down the Home button on your iPhone, iPod touch, or iPad.
Plug your iPhone, iPod touch, or iPad into your Mac or Windows PC and make sure iTunes is running.
Release the Home button when you see the Connect to iTunes screen.
Step 5: One you have your device in the required mode, go into iTunes and hold down the Option key (Shift on Windows) and click “Restore iPhone”. Then you just need to select the IPSW file that you downloaded earlier in order to downgrade iOS 12.
At this point, you just let iTunes do its thing in order to downgrade iOS 12 beta and put you on a more stable operating system.


